One of my favorite ways to add drama, depth and definition to a photo is to add a texture layer to the original image. A texture layer can be as simple as another photograph that you have taken, clouds, aged peeling painted walls, flowers, granite, anything goes. I like to photograph textures everywhere I go and keep them handy for creative work. The examples in this blog post have the same cloud texture so you can see how different the clouds look with a variety of photos. This is really fun to do!
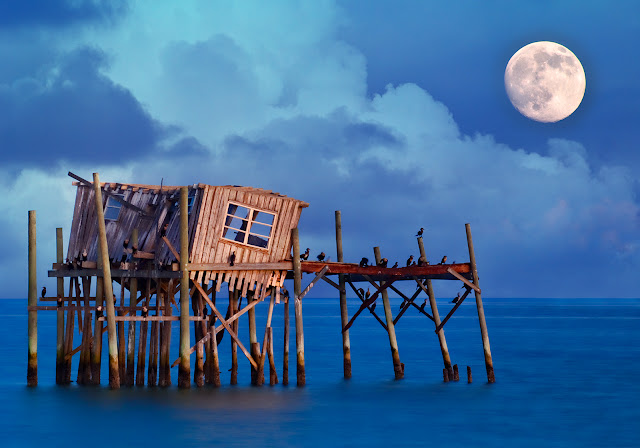
The first example started with an in-camera double exposure taken with my Nikon D3s in Cedar Key, Florida of an old fishing shack and the moon. There were no clouds in sight the evening I was shooting, so I added one of my favorite cloud textures later in Photoshop.
Layering is very easy...
- Cmd/Ctrl A to select the texture layer.
- Cmd/Ctrl C to copy it.
- Cmd/Ctrl V to paste into the background document (your original image).
- Choose a Blend Mode to layer the two images together, such as Overlay or Multiply.
- Tip - Hold down the Shift key and press the plus/minus key to scroll through blend modes.


For fun, I added the same layer of clouds to create a stormy sky look to the airplane image below. The image was converted to black and white with Nik Silver Efex Pro 2. The clouds here look very dramatic having more contrast compared to the landscape example. To give you an idea of what you might photograph to create your own textures, I've included a few screenshots at the end of this post. You can also start your collection right way by using my favorite Flypaper Textures. I also cover textures in the classes I teach at BetterPhoto.com, both Enhancing Images and also Infrared Photography. Hope you can join me next month. Classes start June 8th, I hope to see you there! Make great pictures... ~ Deb

