
One of my favorite ways to work with an image creatively is to add a texture layer. You can do this easily with the addition of your own textures, or you can use Flypaper Textures as I did with the photo above. This creates a painterly or vintage look depending on the texture you choose, and adds a little drama to the composition. Texturing is super easy to do, and textures are a little like having your own personalized plug-in. Textures look different with each image, and by changing the blend mode, you can change the look and mood of your composition.
Here's an easy way to see how a texture looks with your image...
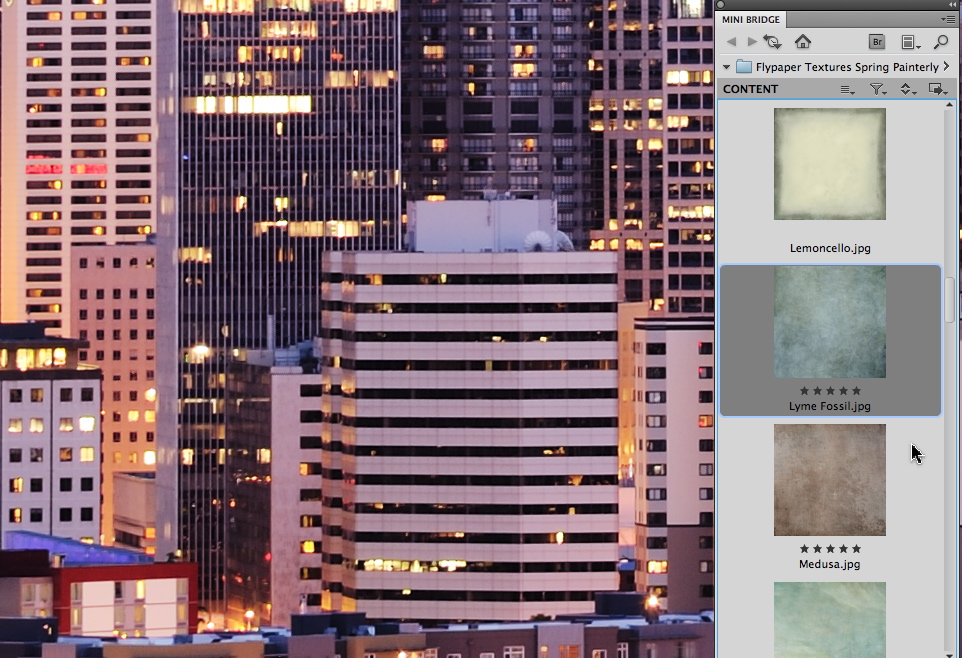
In Photoshop CS5, launch Mini Bridge and navigate to your textures folder...

Try out a texture on your photo by simply dragging the texture over the photo you are working with in Photoshop. The texture will open as a smart object (with an X temporarily over the image).
Change the Blend Mode to see what the texture looks like with your image. I like to start with Overlay. Hold down the Shift key and plus or minus key to scroll through the various blend modes.

If you like the texture layer, press Enter to choose it, if you want to try another, press Escape. Use Transform to resize the texture to fit your image.

Fossil Lime from Spring Painterly collection from Flypaper Textures was added to the image above. Adjust the opacity and blend mode to suit your image. Fine tune your photograph with Nik Viveza by adding control points to selectively brighten, darken, enhance color and detail. Nik Color Efex Pro has wonderful filters and effects including one of my favorites, Darken/Lighten Center. You can save on anything Nik Software by using promotional code DSANDIDGE. Have fun with textures! ~ Deb